Inspecting the Solenoid
Some locations may choose to do this procedure on a more frequent basis (i.e., quarterly, semi-annually, or other frequency).

|
To avoid electrical shock or property damage, move the power switch to OFF and disconnect power. |
Remove the right side panel.
If the core-disc assembly is sticking due to buildup of oil, breading, and food particles, proceed with the following steps:
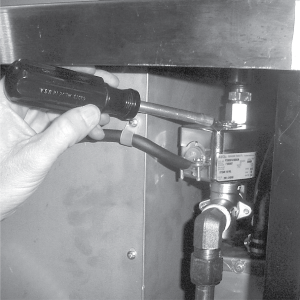
Unscrew the solenoid bonnet assembly from solenoid valve body.
Remove solenoid bonnet assembly and bonnet gasket.
Remove the core-disc assembly, core spring retainer, and the core spring.
Wash all these parts in hot water.
If the seals need to be replaced, proceed to Step 6; otherwise, assemble in reverse order of disassembly. Assemble valve core and blade with smooth side and rounded edge of blade toward the disc spring guide.
Repair kit, Part No. 17120, is available if any of the seals must be replaced. If one seal is defective, replace all seals.
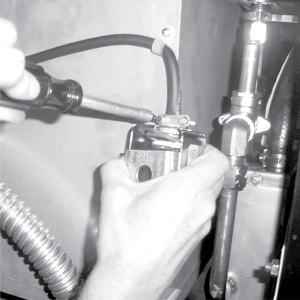
Loosen wires on the strain relief and pull the wires through the relief.
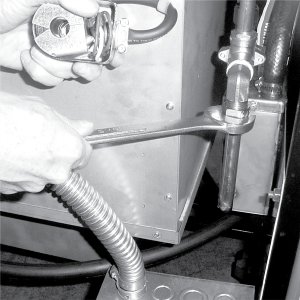
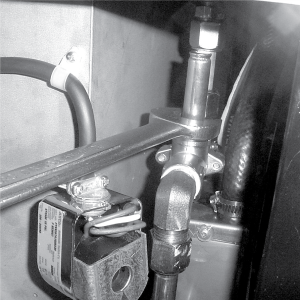
With the bonnet assembly and core-disc assembly removed, disconnect the two nut fittings. One connects the solenoid valve to the deadweight, the other is attached to the condensation tank.
Remove the elbows from the solenoid valve.
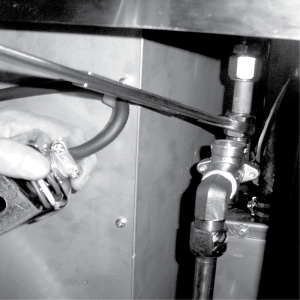
Remove the two adapter screws which attach the pipe adapter to the solenoid valve body.
Remove the disc spring, guide, and seat.
Clean the valve body.
Wet “O” ring around seat with water and insert O-ring assembly stide in valve through “IN” side of body. Use an eraser end of pencil and press in the seal until it snaps into place. Be careful not to mar or nick the seat.