Inspecting the Cam Guide
Some locations may choose to do this procedure on a more frequent basis (i.e., quarterly, semi-annually, or other frequency).

|
Burn Risk To avoid severe burns:
|

|
To avoid electrical shock or property damage, move the power switch to OFF and disconnect power. |
|
|
Only perform this procedure when the unit is cool or severe burns may result. |
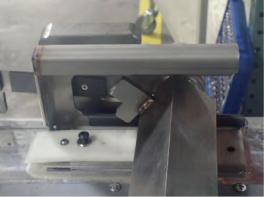
Ensure the lid cam guides are undamaged and working within specification by doing the following:

-
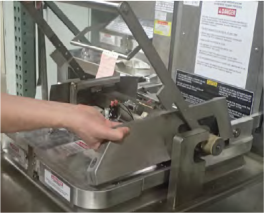
Pull the lid handle forward into the “B” position, as stated on the lid label. Do not engage the hook arms.
-
Lift the handle upward.
-
The handle should freely raise no more than 45 degrees. If the handle rotates freely past the 45 degree angle the test fails. Replace the cam guides by continuing below at step 4.

-
If the test fails, do the following:
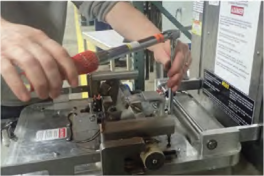
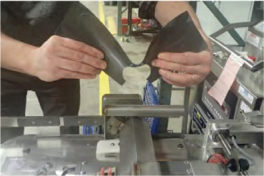
Using a crosshead screwdriver, remove 3 screws on each side of lid sides (6 screw total).
-
Lift and hold handle with one hand as you lift and turn the lid side cover to remove it. Repeat for the other lid side cover and set both lid sides aside.
-
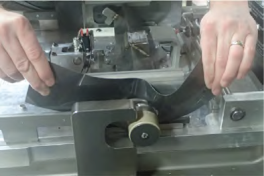
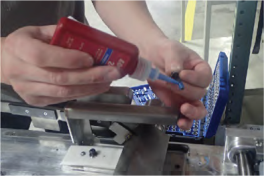
Remove the cam slide fillers, and lay aside.
-
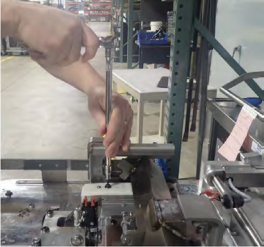
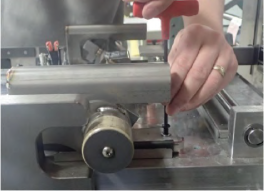
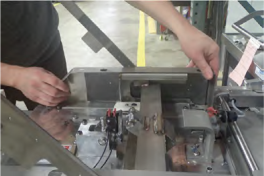
Using the 5/32 hex key, remove the two screws and split ring lockwashers on the cam guide assembly on each side of the lid (4 screws total).
Using a hex key with well-defined edges can assist in removing the screws.
-
Lift the lid handle and linkage assembly while sliding out the cam guide assembly.
-
Lift lid handle and linkage assembly and slide new cam guide assembly under it.
Screw shown loosely in hole to assist with alignment.
-
Ensure holes in all pressure pads, shims, and spacers align with holes in lid.
-
Apply blue threadlocker to both screws and lid holes, and start threading through cam guide assembly.
-
Tighten both screws with the 5/32 hex key.
-
Torque screws to 96 in/ lb (10.8 Nm) with a torque wrench.
-
Either reuse or install new cam slide filler over lid arm assembly.
When replacing cam slide fillers, bend 4 outside corners of new fillers to 45- degree angle towards lid.
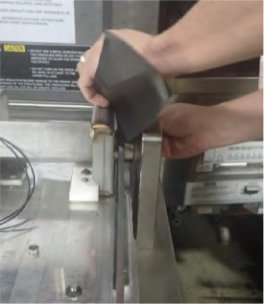
Longer side should be towards front of fryer. Ensure the front and back of the slide filler engages in cam guide as shown below.

-
Pull lid handle and linkage assembly up to disengage lid lock.
-
Replace lid side cover.

-
Apply blue threadlocker to the threads of each lid side cover screw and lid holes.

-
Using a crosshead screwdriver, install 3 screws through each side cover into the lid.
-
Pull handle down and forward to engage latch. Repeat several times to ensure lid handle and linkage assembly is correctly installed.

-
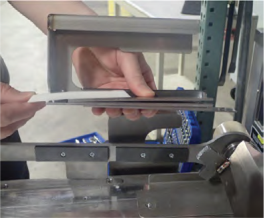
Ensure holes in front of lid cover are aligned with front pegs and place on top of assembly.
-
Install two screws in rear of lid cover.