Inspecting the Lid
Some locations may choose to do this procedure on a more frequent basis (i.e., quarterly, semi-annually, or other frequency).

|
Burn Risk To avoid severe burns:
|

|
To avoid electrical shock or property damage, move the power switch to OFF and disconnect power. |
|
|
Only perform this procedure when the unit is cool or severe burns may result. |

|
If excessive oil is found migrating through any of the vent holes or the lid lock assembly, the lid will need to be replaced ASAP. The store can continue to use this lid until the new lid arrives. If the components under the lid cover are just coated with oil residue, clean the lid and components and follow all steps noted in the cam slide filler and lid gasket procedure. |
Ensure the lid is undamaged and working within specification by doing the following:
-
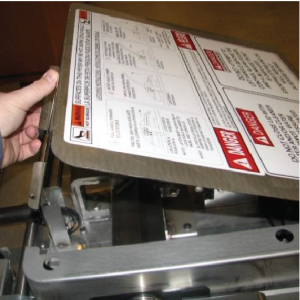
Remove the two lid screws at the rear of the lid cover.
-
Tilt the rear of lid cover up, then push toward the front of the fryer to remove the lid cover.
-
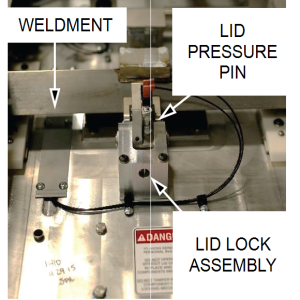
Inspect the lid pressure pin, lid lock assembly, lid handle weldment and stop for damage or wear.
-
Clean off oil accumulation and lubricate as needed.
If any of these parts are broken or missing, take the fryer out of service until repairs are made.
-
Inspect the latch pin and latch pin bracket for damage or wear.
-
Ensure the latch pin rotates. Clean and lubricate as required.
-
Ensure the cotter pin and nut are in place and secure, and oriented to the left.
Proper pin orientation prevents the cotter pin from snagging lid wires.
-
Ensure the latch pin bracket is secure and the weld isn't showing signs of cracking.
-
Clean off oil accumulation and lubricate as needed.
If any of these parts are broken or missing, take the fryer out of service until repairs are made.

-
Ensure the vent holes are unobstructed by oil and debris. Clean as required.
-
Continue to the next inspection or reinstall components as applicable.