Replacing the Water Heater
11/32” socket or wrench

|
To avoid electrical shock or property damage, disconnect power before installing or servicing equipment. A qualified technician must perform the service procedures. |
|
|
HOT WATER To avoid burns, use PPE when handling overflow tube and draining unit. |
-
Disconnect the water connection.
-
Open drain valve and empty water pan into a shallow pan or floor drain.
-
Remove all doors and racks from unit and carefully lay the unit on its back. (This step may not be necessary for units on stands.)
-
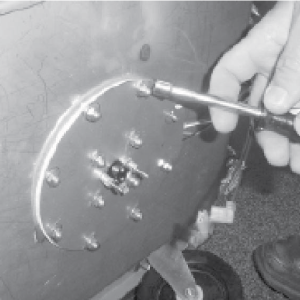
Using an 11/32” socket or wrench, remove the nuts securing the water heater cover and remove cover.
-
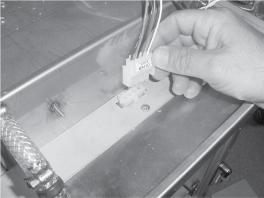
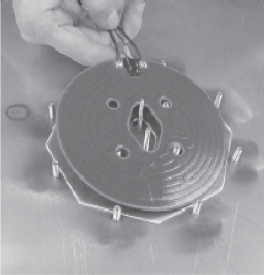
Unplug water heater and high limit wires.
-
Remove the nuts securing the water heater plate and high limit, and pull high limit, plate, insulation and water pan heater from the unit.
-
Pull plate and insulation from unit and discard plate and insulation.
-
Pull water heater from unit.
-
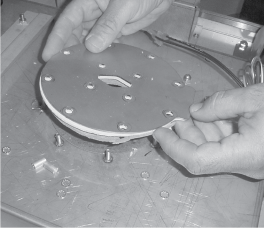
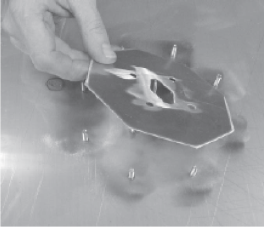
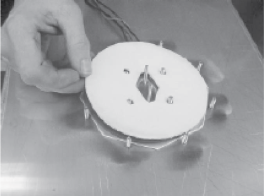
Locate the aluminum, octagon plate in the kit. Make sure the surface is free of debris and place the plate over the 4 long studs.
-
Install new heater, making sure the flat side is towards the plate and the soldered wires are exposed.
-
Install the new insulation from the kit, over the water pan heater.
-
Place new cover plate from the kit, over the insulation.
NOTICE -
DO NOT overtighten. Overtightening the nuts could damage the coating on the heater, causing the heater to fail prematurely.
-
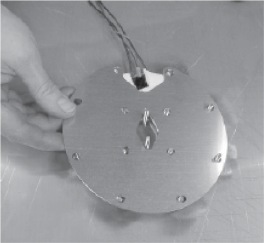
Locate the 12 keps nuts from the kit and place them over the studs and finger-tighten. Using an 11/32” socket or wrench, snug the nuts down in a cross-fashion, but DO NOT overtighten.
-
Reinstall high limit.
-
Reconnect high limit wires and water pan heater wires to unit.
-
Reinstall water heater cover and water supply, and unit is now ready for use.
Related Content
Calibrating and Replacing the Humidity Sensor
Replacing the Water Heater High Limit
Replacing the Water Valve Solenoid (Auto-fill Units)
Cleaning the Water Strainer (Auto-fill Units)
HHC 98X Troubleshooting No Water, Float Switch Failed
HHC 98X Troubleshooting Water Level Low, Please Add Water
HHC-98X Troubleshooting the E-12 Water Heater Sensor Failed Error Code
HHC 98X Troubleshooting the E-17 Humidity Sensor Failed Error Code
Reference