Applies to:
![]()
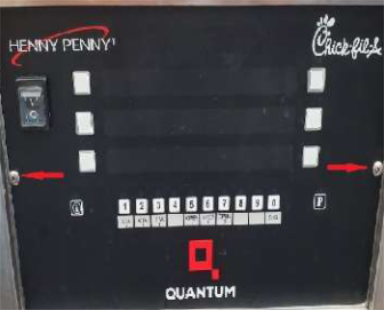
PQE 500 Replacing Control Assembly
Crosstip screwdriver
5/16 inch socket or wrench
Kit number
140779
Replacing Control
Follow these instructions to replace the control assembly on the PQE 500 fryer.

|
Fryer and components may still be hot if fryer has been filtering. |
-
Remove hot oil from the fryer.
-
Turn the power switch off.
-
Ensure fryer is cool to the touch before moving.
-
Pull out the fryer. Then, unplug from the power source.
-
Using a crosstip screwdriver, remove the two screws holding the control and carefully lower forward.
-
Disconnect all harnesses and remove faulty control.
-
Disconnect USB from back of faulty control and transfer it to the new control.
-
Using a 5/16 inch socket, remove the four nuts holding the WiFi module and antenna.
-
Remove components and install onto new control.
-
Working in reverse, install new control and complete steps 6 through 1.
-
Return fryer to service. NOTE: Please continue below to Setting Up Control.
Setting up Control
-
Turn on control.
-
Go through normal Setup Mode using code 123.
-
Once setup is complete, press and hold the P button for the menu.
-
Tap the P button until Program displays.
-
Tap the P button until #7 Tech displays and select it.
-
Enter code 11221122.
-
Tap the P button to T6 and verify the serial number. If the serial number is not populated, please enter it.
-
Once complete, press and hold the P button to Save and Exit Programming.
-
Once verification is complete, exit Info mode the same way entered. Fryer is ready for operation.
Related Content
Troubleshooting the E-4 CPU Too Hot Error Code
Troubleshooting the E-255 Riot System Communication Loss Error Code
Troubleshooting the E-41P Product Data or Multiple Product Data Lost Error Code
Troubleshooting the E-41S System Set Lost Error Code
Troubleshooting the E-46 through E-54 Control Fail Error Codes
Troubleshooting the E-92 24VAC Loss to Control Error Code
Reference