Replacing the Autolift Actuator (Motor Replacement)

|
To avoid electrical shock or property damage, move the power switch to OFF and disconnect power. |
-
Remove electrical power supplied to the unit.
-
Drain oil from the vat.
-
Remove baskets.
-
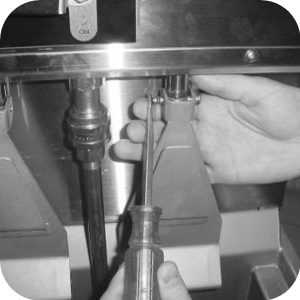
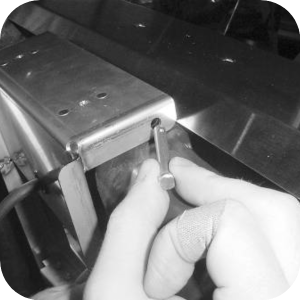
Use a large flat-head screwdriver to push the clevis pin through basket hanger.
-
Use pliers to pull pin from assembly.
-
Remove rear cover.
-
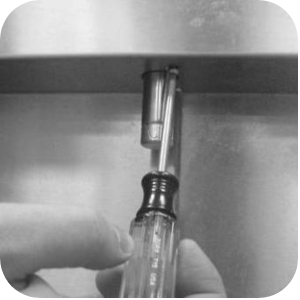
Disconnect actuator connector.
-
Cut the wires from the other.
-
The new actuator wires do not have a connector on them and must be connected directly to the wires on the unit.
-
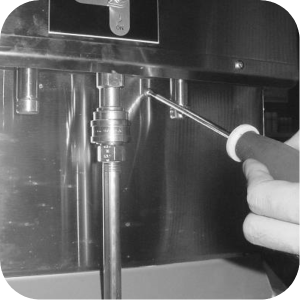
Use a 3/8 in. socket to remove the 3 nuts securing the bottom of the actuator bracket.
-
Remove trim strip from front of shroud.
-
Use a 15T torx driver to remove the 4 torx screws from the pair of actuators.
-
Remove the 2 front mounting screws from the actuator support plate.
-
Remove all the top screws, securing all the actuator support plates to the back shroud.
-
Remove all remaining back shroud screws to loosen the back shroud from the unit.
-
Lift up on the entire back shroud assembly, enough to have the top of actuator and bracket assembly to clear the top of the back shroud.
-
Pull the top of the actuator and bracket assembly away from back shroud.
-
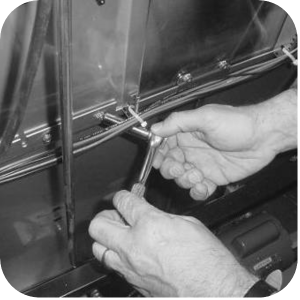
Use a flat-head screwdriver to push the clevis pin from the bracket and actuator.
-
Use pliers to pull the pin from the assembly. Actuator can now be removed from unit.
-
Reassemble and unit is ready for operation.