Required Tools
-
Basic Hand Tools
-
7/16" (11 mm) Wrench or Nut Driver
-
7/8" (22 mm) Wrench
Kit Contents
-
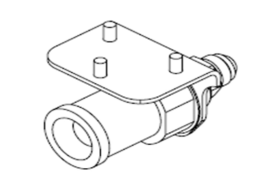
Floating Plug and Play Assembly
-
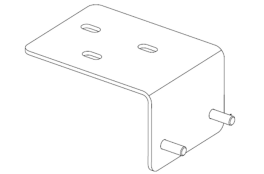
Brackets
-
Hardware
-
Blue Threadlocker
Kit number
140960
Estimated Time
30 minutes
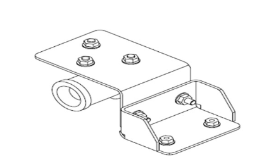
These instructions describe the steps to attach the new floating plug and play.

|
Only perform this procedure when the fryer is cool or severe burns may result. |
-
Turn power switch off.
-
Ensure the fryer is cool to the touch before moving.
-
Pull out the fryer and unplug from power source.
-
Carefully remove the ATO/JIB box and set it to the side.
-
Using a 7/8" (22 mm) wrench, disconnect the flex line hose located on the back of the plug and play.
-
Using a 7/16" (11 mm) wrench or nut driver, disconnect the two nuts securing the plug and play assembly.
-
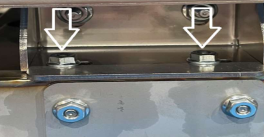
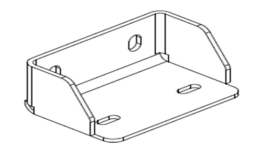
Install the new bracket from kit onto trough using two nuts removed in previous step. Hand tighten nuts only.
-
Install the new plug and play bracket onto bracket installed in previous step using two nuts provided in kit. Hand tighten nuts only.
-
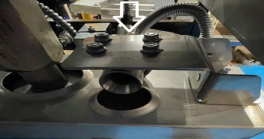
Install new plug and play assembly onto bracket installed in previous step using three nuts provided in kit. Hand tighten nuts only.
-
Reattach flex line hose to rear of plug and play assembly and hand tighten nut.
-
Insert ATO/JIB box and adjust the plug and play if needed. Tighten nuts on all brackets and flex hose nut.
-
Working in reverse order, complete steps 3 through 1 and return fryer to operation.
Related Content
Replacing the AIF Board (Single Well)
Replacing the AIF Board (Double Well)
Checking and Replacing Filter Pan O-Rings
CFE 410/420 Troubleshooting the Check Pan Message
CFE 410/420 Troubleshooting the E-15 Drain Open Error Code
CFE 410/420 Troubleshooting the E-18 Level Probe Failure Error Code
CFE 410/420 Troubleshooting the E-19 Protection Sensor Failure Error Code
CFE 410/420 Troubleshooting Oil Not Pumping
Temperature Probe Gauge Instructions
Reference