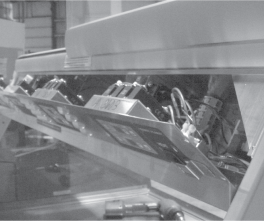
Replacing the PC Board
crosshead screwdriver
5/16” socket

|
To avoid electrical shock or property damage, move the power switch to OFF and disconnect power. |
-
Remove the crosshead screws securing the bottom, rear cover and let hinge down.
-
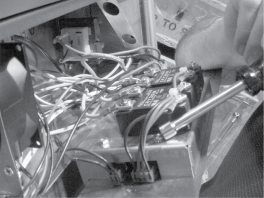
Remove the nuts securing the housing and pull housing from unit.
-
Disconnect connectors to the PC board.
-
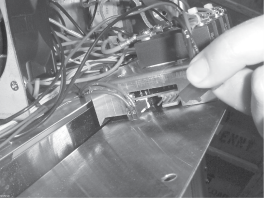
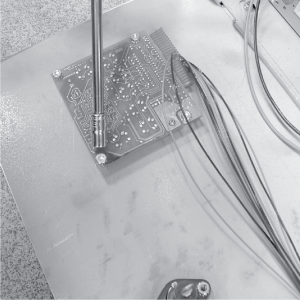
Using 5/16” socket, remove the nuts securing the PC board and pull the board from the unit.
-
Install new PC board in reverse order.