Replacing the Relay
crosshead screwdriver

|
To avoid electrical shock or property damage, move the power switch to OFF and disconnect power. |
-
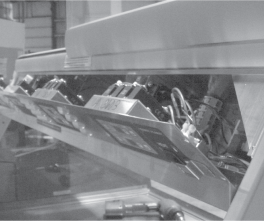
Remove the crosshead screws securing the bottom, rear cover and let hinge down.
-
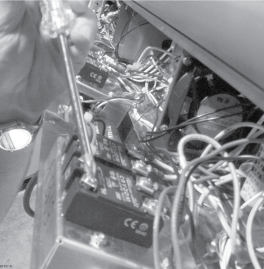
Label wires, and then loosen the crosshead screws securing the wires to the relay and pull wires from relay.
-
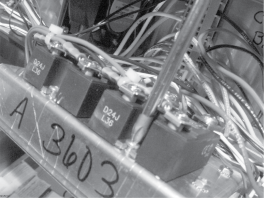
Remove the cross head screws securing the relay to the unit, and then pull relay from unit.
-
Install new relay in reverse order.
Related Content
HMR-10X Troubleshooting the E-4 CPU Too Hot Error Code
HMR-10X Troubleshooting the E-41 Scrambled PC Board Memory
HMR-10X Troubleshooting the E-56 Setpoint Storage Error Code
Replacing the Food Probe Receptacle
Replacing the High Limit Automatic Reset
Replacing the High Limit Manual Reset
Converting the HMR from Full to Self Service
HMR-10X Troubleshooting the E-6 Air Probe Fail Error Code
HMR-10X Troubleshooting the HI Error Code
Reference