HCW Water Reservoir Backflow CE Instructions
3/8 in. Wrench driver
Crosstip head screwdriver
Kit number
14468
Estimated Time
30 to 45 Minutes

|
To avoid electrical shock or property damage, move the power switch to OFF and disconnect power. |
This kit is for making modifications to HCW units needing to meet CE water back flow regulations for European water table standards. This Kit will create an air gap barrier between the HCW water pan and the continuous water supply. All of the components sent with this kit must be used to achieve correct performance.
-
Remove power from unit.
-
Remove the end control panel.
-
Remove the nut on the brass fill port.
-
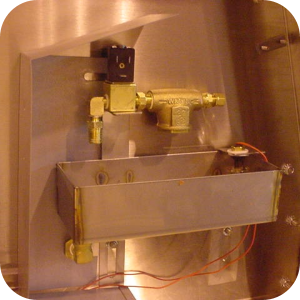
Inside the electrical compartment remove the keps nuts which hold the overfill box solenoid assembly in place.
-
Disconnect solenoid and float wires.
-
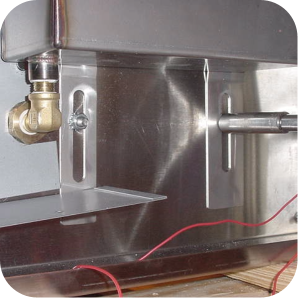
The brass fill fitting the new assembly incorporates a stainless steel tube welded to the bottom of the overfill box.
-
The new assembly incorporates a stainless steel tube welded to the bottom of the overfill box.
-
The threaded end of the tube will protrude through the hole and the jam nut will replace the brass nut on the inside of the unit.
-
Put the tube through the fill hole and the studs through the clearance holes.
-
Reattach keps nuts inside the control compartment using a 3/8 in. nut driver.
-
Tighten the jam nut inside the unit. Reconnect the solenoid valve and float switch wires, splicing or crimping as necessary.
-
Unit is now ready for use.