HCW WRAS Valve Retrofit Kit Instructions
3/8 in. Wrench driver
Crosstip head screwdriver
Kit number
14751
Estimated Time
15 to 30 Minutes.
-
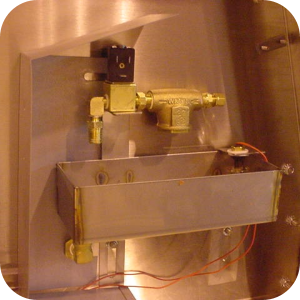
Remove the end control panel.
-
Remove the nut on the brass fill port.
-
Inside the electrical compartment remove the keps nuts which hold the overfill box solenoid assembly in place.
-
Disconnect solenoid and float wires.
-
The brass fill fitting the new assembly incorporates a stainless steel tube welded to the bottom of the overfill box.
-
The new assembly incorporates a stainless steel tube welded to the bottom of the overfill box.
-
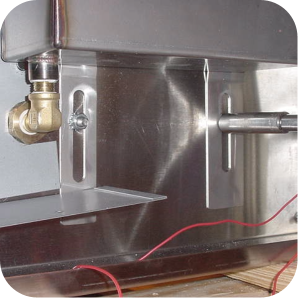
The threaded end of the tube will protrude through the hole and the jam nut will replace the brass nut on the inside of the unit.
-
Put the tube through the fill hole and the studs through the clearance holes.
-
Reattach keps nuts inside the control compartment using a 3/8 in. nut driver.
-
Tighten the jam nut inside the unit. Reconnect the solenoid valve and float switch wires, splicing or crimping as necessary.
-
Unit is now ready for use.
Related Content
Replacing the Water Control Switch
Replacing the Water Pan Heater
HCW Water Reservoir Backflow CE Instructions
FM01-831 HCW/CW Series Thermostat Kits
HCW Window Assembly Installation Instructions
HCW 8 Single Phase Field Retrofit Kit
HCW 8 Three Phase Field Retrofit Kit
HCW Glass Edge Guard Installation Instructions
Reference