Applies to:
![]()
Replacing the PMU Board
cross-tip screwdriver
needle nose pliers
Kit number
PMU Board Service Pack - 180703
Estimated Time
30 minutes

|
Shock Hazard HIGH VOLTAGE PRESENT! To avoid personal injury, this procedure should only be performed by a service technician who is trained and understands electrical safety. |
This should help resolve any heat system related issue if PMU board is faulty.
-
Turn the power switch to -OFF-, and then unplug the fryer from wall receptacle.
-
Remove the mid-shelf cover or access panel under the touchscreen display.
-
Open the doors and remove the screws underneath, holding the mid-shelf cover, with a cross-tip screwdriver.
-
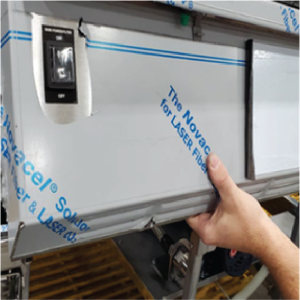
Grab the bottom of the cover and carefully pull out and away, and then down to release it from its slot. Carefully lay it on the doors, front side facing down.
Note: The cover may get caught on the PMU board plates. It may be necessary to reach up, under, and behind the cover, to press the PMU plates near the top, away from the cover.
-
Carefully disconnect the power switch connection, and then remove mid-shelf cover to the side.
-
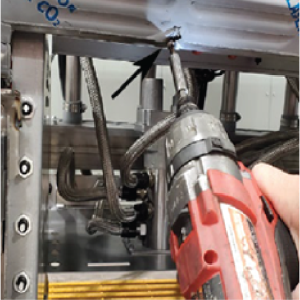
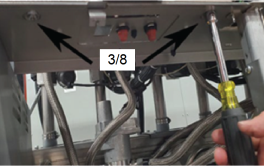
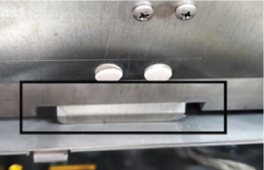
Locate the two 3/8 in. nuts securing the PMU board plate on the bottom, and then remove.
-
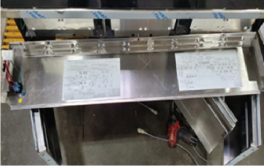
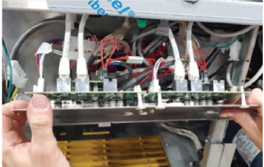
Carefully lift on the PMU Plate, while locating the slot on the bottom.
-
Insert the PMU Plate into the slot, and then lower the PMU Plate forward, allowing it to hang.
-
Take a picture of the PMU board wiring before unplugging.
Note: This is very important when communicating with Henny Penny support and ensuring PMU board wiring is properly connected.
-
Carefully unplug the wiring.
-
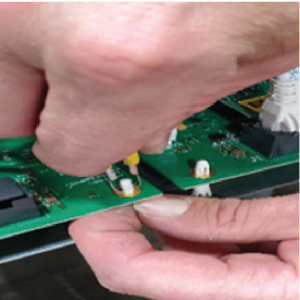
Using needle nose pliers, squeeze and hold the top of PMU board standoffs and carefully lift the board to free it from the standoff.
-
Using needle nose pliers, squeeze and hold the top of high limit board standoffs and carefully lift the board to free it from the standoff.
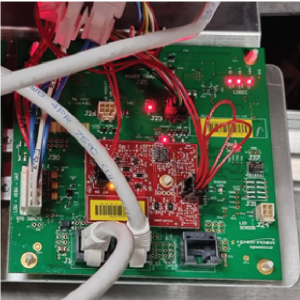
Note: High limit board may be red or green in color as shown.
-
Remove the PMU board from the plate.
-
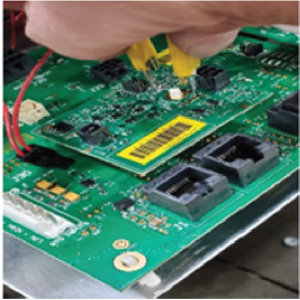
Unplug the smaller high limit board from the old PMU and plug it into the new PMU.
-
Working in reverse, complete steps 11 through 1 and return fryer to service.