Replacing the Control Board

|
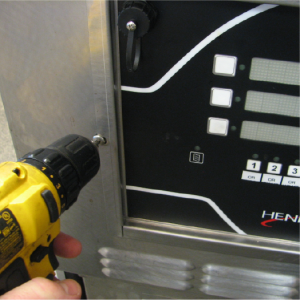
To avoid electrical shock or property damage, move the power switch to OFF and disconnect power. |
-
Use the cross head screwdriver to remove the two screws securing the control board to the front shroud.
-
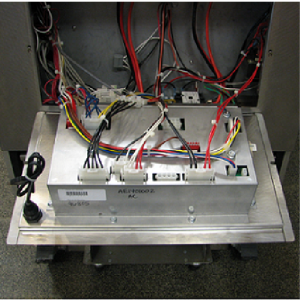
Press in on the bottom of the board, and rotate the panel down until it rests on the shroud.
-
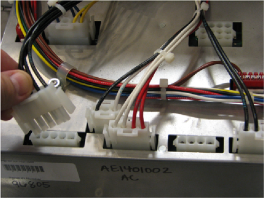
Disconnect all the connectors on the back of the control board.
-
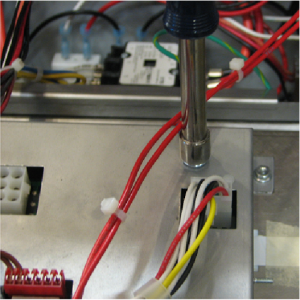
Use a 3/8 inch nut-driver or socket and remove the nut securing the ground wire to the control board.
-
Remove old control board.
-
Place new control board on to the unit with the tab inserted in to the slot. Let the control board rest on the shroud.
-
Use a 3/8 inch nut-driver or socket and reconnect the nut securing the ground wire to the control board.
-
Reconnect all the connectors on the back of the control board.
-
Use the cross head screwdriver to reinstall the two screws securing the control board to the front shroud.
Related Content
Replacing the AIF Multi-Tab Transformer
Replacing the Control Transformer
Troubleshooting the Zigbee Radio
Menu Card Removal Replacement Instructions
Save and Load Setpoint Instructions
OXE 100 Troubleshooting the E-41 Programming Settings Lost Error Code
Reference
Product Racking Recommendations