Applies to:


Replacing the Solenoid Valve

|
To avoid electrical shock or property damage, move the power switch to OFF and disconnect power. |
Solenoid Valve
This is an electromechanical device that causes pressure to be held in the vat. The solenoid valve closes at the beginning of the cook cycle and is opened automatically by the timer at the end of the cook cycle. If this valve should become dirty or the Teflon seal nicked, pressure will not build up. The fryer uses a 208/240 volt 60 Hz coil. The 440/480 volt electric model uses a transformer to drop voltage to 220/240 volts.
Coil Check Procedure
Remove wires from terminals 73 and 72. Check across solenoid wires.
| Test Volts / Phase | Results |
|---|---|
| 24 volt | 2.2 Ohms |
| 120 volt 60 Hz | 50 Ohms |
| 208-240 volt 60 Hz | 150 Ohms |
| 208-240 volt 50 Hz | 245 Ohms |
Replacement
Remove Tru-Arc retaining clip on top of the coil housing.
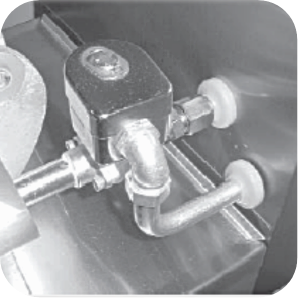
Remove the nameplate and cover.
If only the coil is replaced, disconnect two coil wires at the wire nuts in the coil housing.
Remove the coil from the housing.
Replace name plate, cover and Tru-Arc clip, if the complete solenoid or seal are being replaced. Wires can be connected in any order.
|
NOTICE - |
The wires may be connected in any order. |
|
NOTICE - |
Remove the solenoid body from fryer to replace seals. |
|
NOTICE - |
The smallest nick can cause a pressure leak. Replace all O-ring seals, found in the parts kit. Reassemble the valve. |
If the complete solenoid or seal are being replaced, then loosen the nut on the 1/2 in. connector and pull piping conduit from the valve case. Leave enough slack to remove the coil housing and yoke.
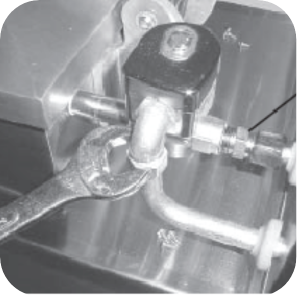
If the core-disc assembly is sticking due to buildup of oil, breading and or food particles. Unscrew the solenoid bonnet assembly from the solenoid valve body.
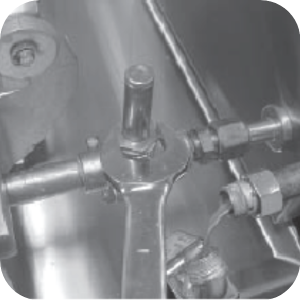
-
Unscrew the solenoid bonnet assembly from the solenoid valve body.
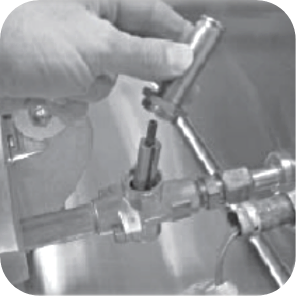
-
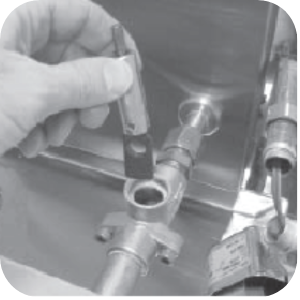
Remove the solenoid bonnet assembly and bonnet gasket.
-
Remove the core-disk assembly, core spring retainer, and the core spring.
-
Wash all parts in soap and hot water.
If replacing Teflon seals, or complete valve, a repair kit Henny Penny Part No. 17120 is available if any of the seals need to be replaced. If any one seal is defective, all seals should be replaced.
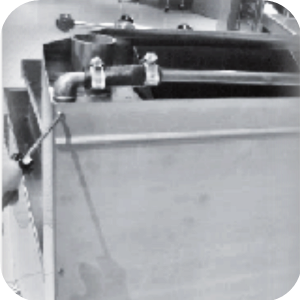
Remove solenoid body form fryer to replace seals.
-
Remove back cover.
-
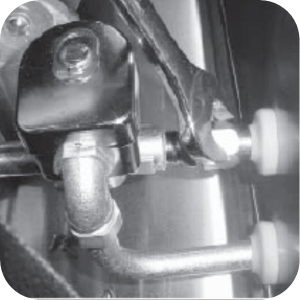
Loosen both conduit and exhaust fittings.
-
Remove nipple from solenoid body.
-
Unthread body from fryer.
-
A new solenoid can now be placed on the fryer, and reassembled in reverse order. Unless seals need to be changed.
To change seals, remove two adapter screws which attach the pipe adapter to the solenoid body.
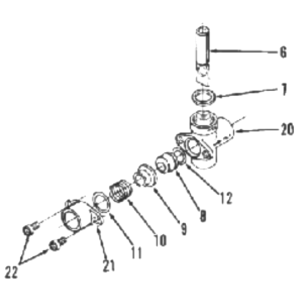
Remove the disc spring, guide, and seat.
Clean the valve body.
Wet O-ring around the seal with water and insert O-ring assembly (flat side first) in valve, through the IN side of body.
Use a pencil eraser, and press in Teflon seal until it snaps into places. Ensure not to mark or nick the seal. The smallest nick can cause a pressure leak.
Replace all O-ring seals and reassemble valve.
Related Content
Replacing The Filter Rinse Hose
Preventing Filter Pump Problems
Direct connect oil system operating instructions
Troubleshooting an E-92 Error Code
Troubleshooting the PFE 500 and 561 Not Pumping Error Code
Troubleshooting the PFE 500 and 561 E-15 Drain Open Error Code
Reference
