Installing the SiteSage Radio

|
To avoid electrical shock or property damage, move the power switch to OFF and disconnect power. |
-
Remove power from fryer.
-
Remove screws from control panel and tilt down.
-
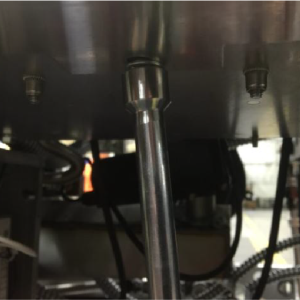
Using 3/8” nut driver, remove bottom control shroud mounting nut.
-
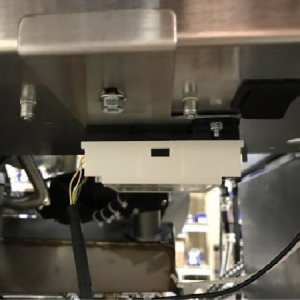
Position radio assembly over stud and push towards rear of fryer.
-
Install the control shroud mounting nut.
-
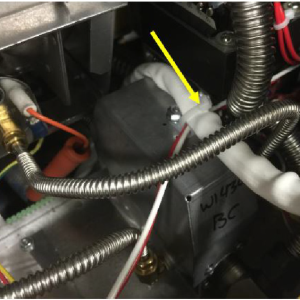
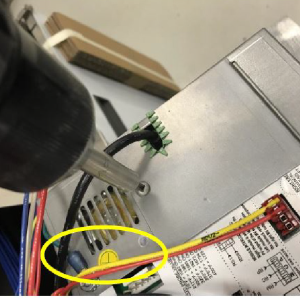
Guide radio cable through rear of fryer, to the right of the gas valve, through wire clip and secure with wire tie as shown.
NOTICE -
To avoid property damage from heat:
-
Ensure the radio cable does not contact the burner assembly.
-
DO NOT secure the radio cable routing by securing it to ignition cables.
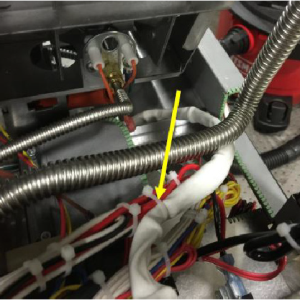
NOTE: When facing the front of the fryer, ensure the far right vat has wire tie radio cable secured to existing bundle as shown.
-
-
Remove existing control panel access covers and discard.
-
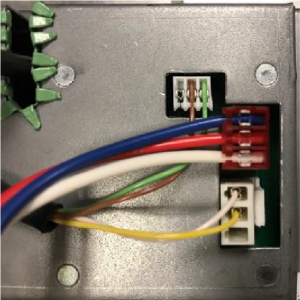
Insert radio communication harness connector into place for each control.
-
Install new control access cover provided in kit with existing hardware.
-
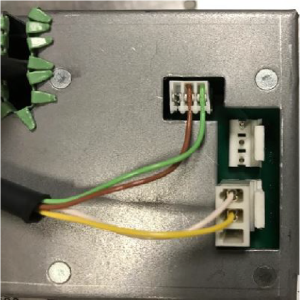
Connect SiteSage radio wires in first control from left as shown.
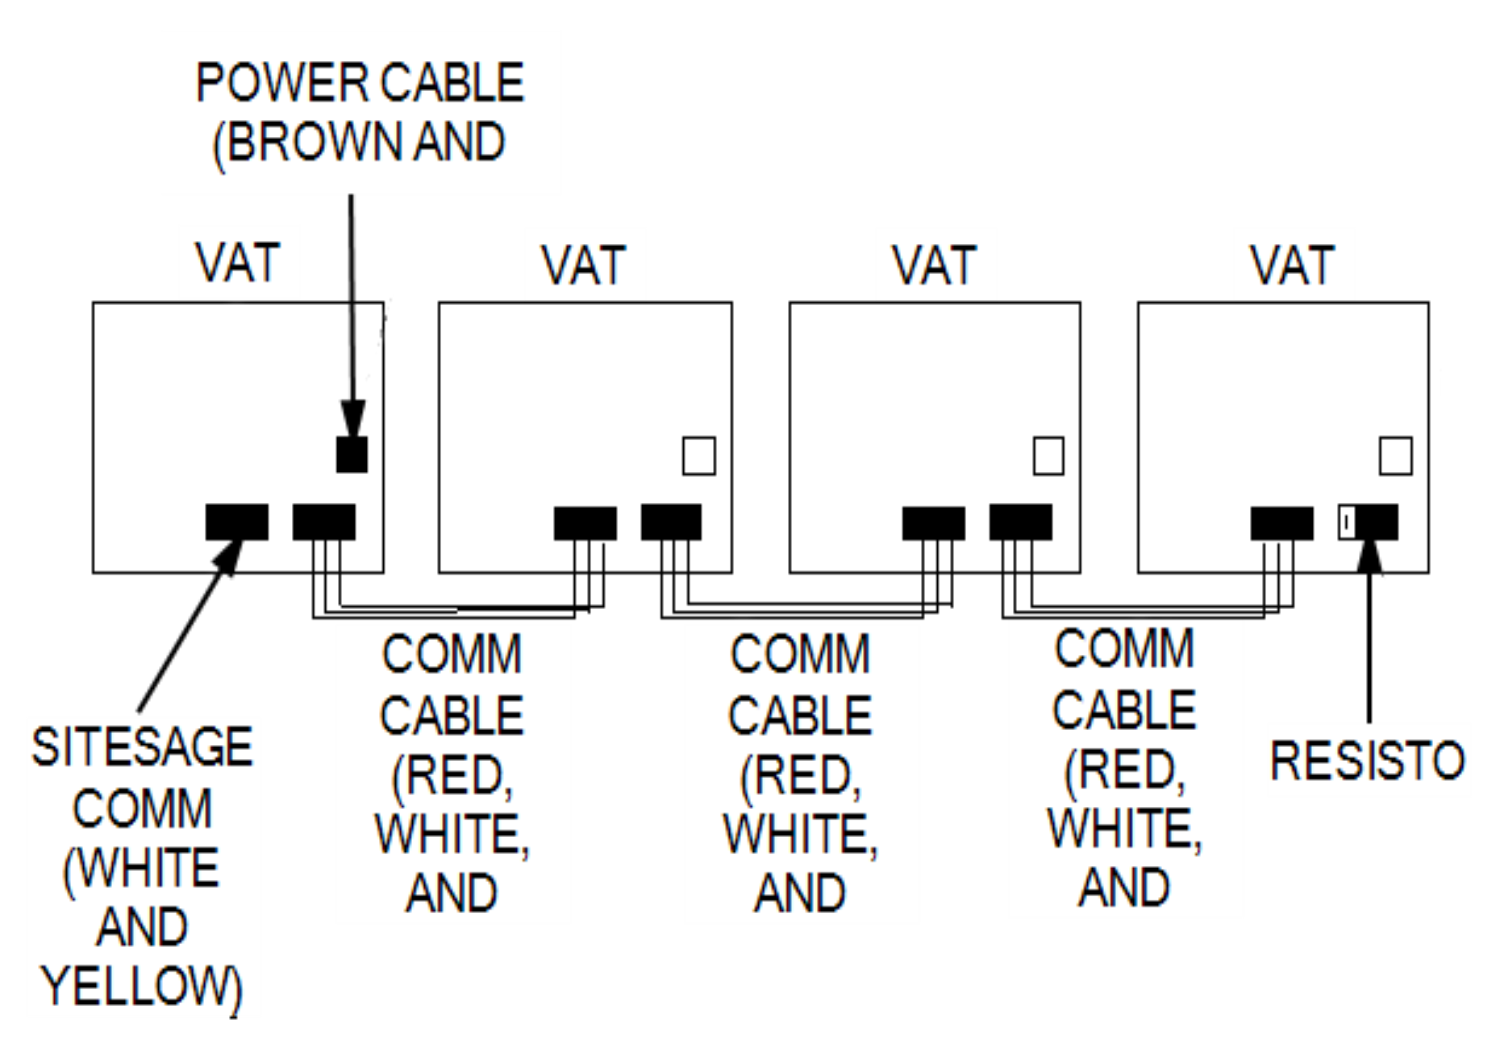
-
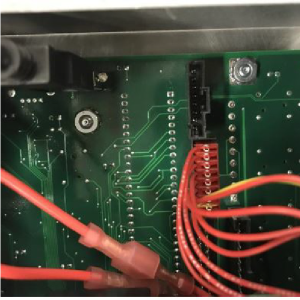
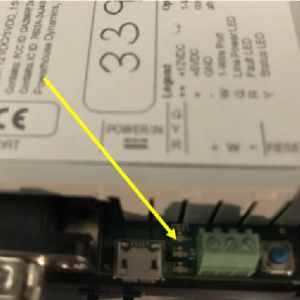
Connect control communication wires provided in kit to control and all controls. On the last control, add provided resistor as shown.
-
Lift control panels into place and install screws.
-
Restore power to fryer and ensure the power LED is lit on the radio.
-
Press and hold the P button until Level 2 shows in the display.
-
Use the left/right arrow button to navigate to the DATA COMM menu and enter password 123.
-
Use the left arrow button to navigate backwards to DC-11, MODBUS ENABLED.
-
Use the up/down button to select YES.
-
Press and hold the P button to save the change and exit DATA COMM mode.
-
Connect radio to network/gateway in store. Once the connection is made information can flow from the control to the radio and then the gateway.
Related Content
Replacing the Control Panel and Menu Card
Replacing the Main Power Switch
Smart Touch Software Installation Instructions
Troubleshooting EEG 24X Zigbee Radio Connection
Troubleshooting EEG 16X and 24X E-4 Control Overheating Error Code
Troubleshooting EEG 16X and 24X E-41 Programming Settings Lost Error Code
Troubleshooting EEG 16X and 24X E-60 AIF Communication Failure Error Code
Reference