The unit has electronic spark ignition, that lights a standing pilot.
Two different modules are in the field. The White Rogers modules have a red LED, and the Robershaw modules have a green LED. These LEDs help to identify a failure.
For the White Rogers’ module, when the control calls for heat, the White Rogers LED will flash, then go out, indicating the control is functional. If the LED continues to flash, the module did not sense a pilot flame. If the LED stays on continuously, an internal fault has been detected, and the module should be replaced.
For the Robertshaw, when the control calls for heat, the LED will be on continuously, indicating the control is functional. If the LED flashes, the module did not sense a pilot flame. If the LED goes out while the control is calling for heat, an internal fault had been detected, and the module should be replaced.

|
To avoid electrical shock or property damage, move the power switch to OFF and disconnect power. |
|
NOTICE - |
To avoid property damage, do not tamper with this component. It is factory sealed and should not be adjusted. |
-
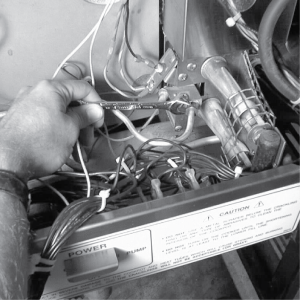
Remove the electrical power supplied to the unit.
-
Remove the control panel.
-
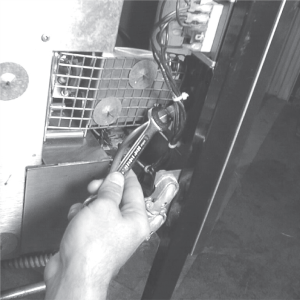
Disconnect the 1/4” gas line fitting from the pilot assembly.
-
Follow the wire from the spark ignitor to the module, and remove the wire from the module.
-
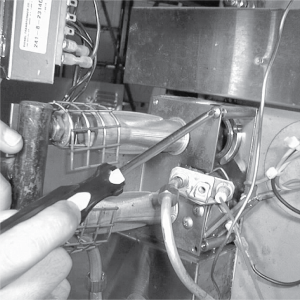
Remove the left, or right side panel, depending upon which ignitor assembly to be removed.
-
Disconnect gas line (for the left ignitor assembly).
-
Remove the 4 screws securing the burner assembly, and pull the assembly from the unit.
-
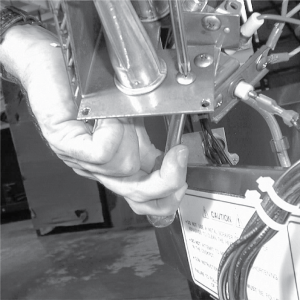
Using a crosshead screwdriver, remove the screw securing the ignitor assembly to the burner assembly, and pull the ignitor assembly from the unit.
-
Secure the new assembly with the screw previously removed, making sure the assembly is turned to provide a 1/8” gap between the spark ignitor and the hood of the pilot assembly.