Replacing the Thermostat
screwdriver
nutdriver
silicone sealant
thermostat

|
To avoid electrical shock or property damage, disconnect power before installing or servicing equipment. A qualified technician must perform the service procedures. |
-
Disconnect electrical supply to unit.
-
Remove the cabinet top.
-
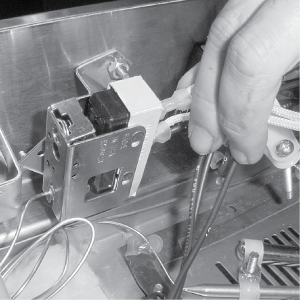
Remove the wires from thermostat. Check for continuity across the two terminals. With the thermostat set at the maximum setting (all the way clockwise), the circuit should be closed. In the OFF position (all the way counterclockwise), the circuit should be open. If the thermostat is defective, continue with the following steps.
-
Remove the four nuts securing the blower box to the cabinet.
-
Pull the blower box up to expose the thermometer and thermostat bulbs. Carefully lay the blower and blower box off to one side.
-
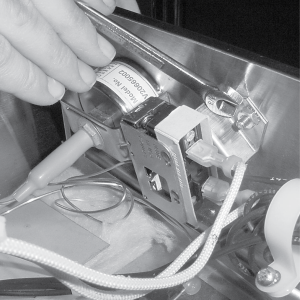
Remove the two nuts securing the bulb retaining clips and remove the thermostat bulb from the clips.
-
Remove the two nuts securing the thermostat bracket to the panel.
-
Remove the two screws securing the thermostat to the bracket, and remove the thermostat.
-
Install new thermostat in reverse order, using the bulb clips provided with the thermometer.

Be sure that both the thermometer and thermostat capillary tubes pass through the notches in the front corners of the blower box. Failure to do so could permanently damage the thermometer or thermostat and cause improper operation of the cabinet.
-
Reseal notches in the blower box corners with silicone sealant.
-
Replace the cabinet top.
-
Reconnect electrical supply to the cabinet.