FM01-831 HCW/CW Series Thermostat Kits
11/16 in. Allen wrench
Crosstip head screwdriver
Estimated Time
1 Hour

|
To avoid electrical shock or property damage, move the power switch to OFF and disconnect power. |
-
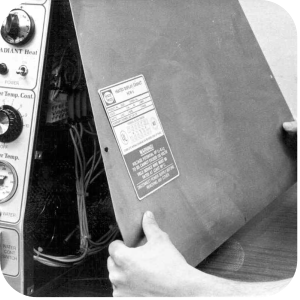
Disconnect electrical service to unit.
-
Remove the seven screws securing the control, side panel.
-
Slide bottom of the end panel out first, allowing to drop below shelf edge.
-
Remove electrical wires from thermostat.
-
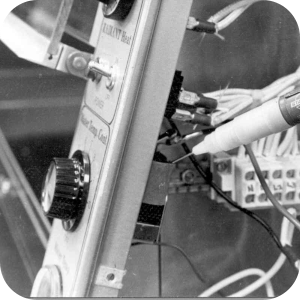
Check across the two terminals of the thermostat for continuity. With the thermostat knob turned all the way clockwise, the circuit should be closed. With the thermostat knob turned all the way counter-clockwise, the circuit should be open. Replace thermostat if it fails either of these tests.
-
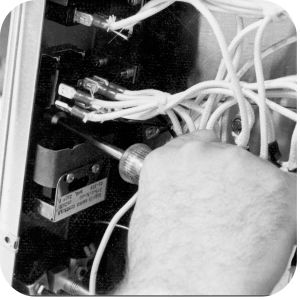
Use a 11/16 in. allen wrench to loosen the set screw on the knob and pull knob from shaft.
-
Remove the sensor bulb by pulling out on the bulb or capillary tube.
-
Use care when handling the thermostat capillary tube during installation. Excessive bending of capillary tube could cause premature failure.
-
Remove the two screws securing the thermostat and pull thermostat from unit.
-
Reinstall new thermostat in reverse order.
-
Cut terminals off of wires disconnected from old thermostat.
-
Strip insulation back 3/8 in. from end of wire.
-
Use the wire connectors provided to connect one wire from the thermostat, to one of the stripped wires on the unit.
-
Connect the other wire on the thermostat to the remaining stripped wire.
-
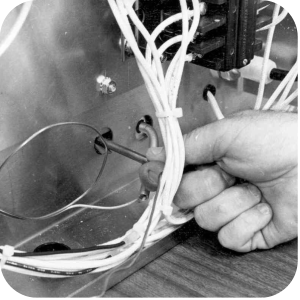
Use the wire ties provided to bundle the wires together to keep them away from sharp corners and hot surfaces.
-
Replace side panel.
-
Unit is now ready for use.
Related Content
Replacing the High Limit Switch
CW 216 Three Phase to Single Phase Conversion
Replacing the High Limit Switch
Installing and Replacing the Light Bulbs and Glass Panels
HCW 8 Single Phase Field Retrofit Kit
HCW 8 Three Phase Field Retrofit Kit
HCW Window Assembly Installation Instructions
HCW Glass Edge Guard Installation Instructions
HCW WRAS Valve Retrofit Kit Instructions
Reference