Replacing the High Limit Control
Replacing

|
To avoid electrical shock or property damage, move the power switch to OFF and disconnect power. |
-
Remove electrical power supplied to the unit.
-
Lower the control board.
-
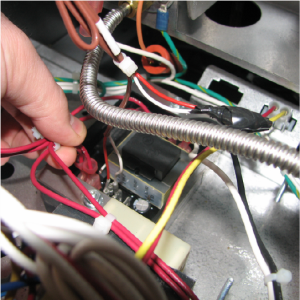
Mark and disconnect the wires from the high limit control.
-
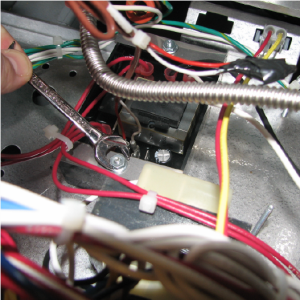
Using a 3/8 inch wrench, remove the nuts.
-
Remove the clamp bars.
-
Slide the high limit control off of mounting studs.
-
Install the new control in reverse order.
Related Content
Replacing the High Limit Thermocouple
Replacing the Temperature Probe
Replacing the Gas Valve Solenoid Coil
Troubleshooting the Solid State High Limit
LVG 20X Troubleshooting the E-5 Oil Overheating Error Code
LVG 20X Troubleshooting the E-6 Temperature Probe Fail Error Code
LVG 20X Troubleshooting the E-10 High Limit Error Code
LVG 20X Troubleshooting the E-20A Fan Sensor Stuck On Error Code
LVG 20X Troubleshooting the E-20B No Draft Check Fan Error Code
LVG 20X Troubleshooting the E-20D Ignition Failure Error Code
LVG 20X Troubleshooting the E-22 No Heat Error Code
Reference