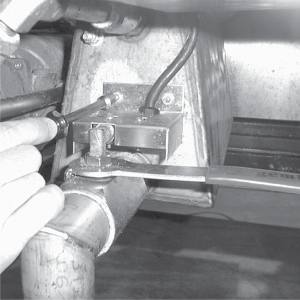
Upon pulling out on the drain handle, the microswitch should be activated and the unit will not heat, but when the handle is pushed back, the unit should operate properly. The bracket on the microswitch is slotted so it can be adjusted backward or forward.

|
To avoid electrical shock or property damage, move the power switch to OFF and disconnect power. |
-
Remove electrical power supplied to the unit.
-
The following check should be made to determine if the drain switch is defective.
-
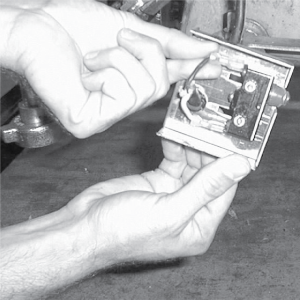
Remove bracket from the unit.
-
Remove wires from the switch.
-
Check for continuity across the two outside terminals on the drain switch. If circuit is open, the drain switch is bad. The circuit should only be opened by pressing on the actuator of the drain switch.
-
-
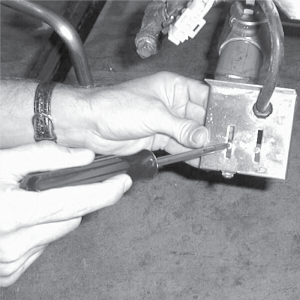
To replace switch, remove switch from the bracket, and install switch in reverse order.
-
Test to see if drain valve handle actuates the switch. The gap between the drain switch and the shaft should be no more than 1/8” (3 mm).
Listen for click of switch while pulling drain valve handle.
Related Content
Replacing the Drain Valve and Extension
Testing and Replacing the Power/Pump Switch
Replacing the Solenoid Below the Counter
Replacing the Solenoid Above the Counter
PFG-690/691 & OFG-390/391 Pump Motor Relay Kit
PFG 690 and 691 Installing Filter Rinse Hose
Direct-Connect Retrofit Instructions (For use on fryers after SN: 391-LH016JC & 691-LH029JC)
Operating Instructions for PFG-691/OFG-391 Direct-Connect Oil System
PFG 691 Attaching the Rinse Hose Instructions
Troubleshooting the PFG 691 Oil Not Pumping
Troubleshooting the PFG 691 E-15 Drain Open Error Code
Reference