Replacing the Power Switch
crosshead screwdriver
5/16" socket

|
To avoid electrical shock or property damage, disconnect power before installing or servicing equipment. A qualified technician must perform the service procedures. |
-
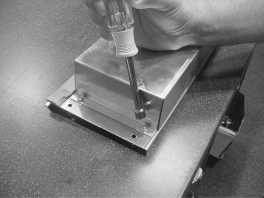
Using a crosshead screwdriver, remove the four screws securing the front panel.
-
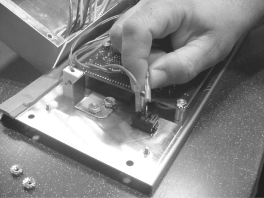
Lower panel, remove connectors from the back, and remove panel from unit.
-
Using 5/16" socket, remove the 4 nuts securing the control cover and remove cover.
-
Remove wires from switch and check across the 2 terminals for continuity. With switch in ON position, the circuit should be closed. In the OFF position, the circuit should be open. If the switch is defective, continue with step 5.
-
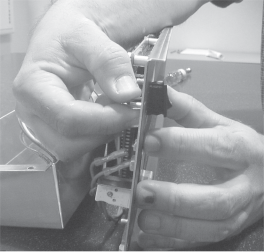
Pinch the tabs on the rear of the switch and pull the switch through the front of the panel.
-
Replace with new switch in reverse order and unit is now ready for use.
Related Content
Replacing the Control Panel or PC Board
Replacing the Fuse and Fuse Holder
HHC 99X Troubleshooting E-4 CPU Overheating Error Code
HHC 99X Troubleshooting E-41 System Data Lost Error Code
Replacing the Air Temperature Probe
Replacing the Food Probe Receptacle
Replacing the Air Heater High Limit
Replacing the Vent Motor Microswitch
HHC 99X Troubleshooting the E-5 Air Temp Sensor Failed Error Code
HHC 99X Troubleshooting the E-80 Vent Stuck or Bad Switch Error Code
Installing HHC Vent Motor Retrofit
Reference