Replacing the Door Sensor
crosshead screwdriver
3/8" socket
5/16" wrench
door sensor

|
To avoid electrical shock or property damage, disconnect power before installing or servicing equipment. A qualified technician must perform the service procedures. |
-
Remove electrical power to unit.
-
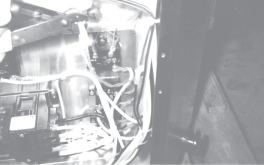
Remove appropriate side panel.
-
For replacing the sensor on the control side, the control panel and control box must be removed.
-
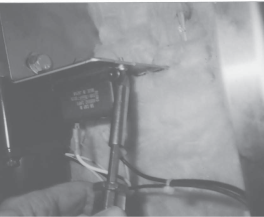
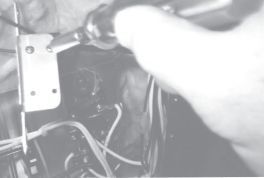
Using a 3/8" socket, remove the nuts securing the sensor bracket, and remove bracket from unit.
-
Using a crosshead screwdriver and a 5/16" wrench, remove screws from switch and remove switch from bracket.
-
Cut wires behind splices and then splice wires of new sensor on existing wires.
NOTICE -
Do not over-tighten the screws securing the sensor to the bracket, or damage to the sensor will result.
-
Install new sensor on bracket, and install bracket assembly onto unit.
-
Replace side panels and restore power to unit.
Related Content
Replacing the Drive Motor Capacitor
Replacing the Meat Probe Receptacle
Testing the Relay and Replacing the Drive Motor
Installing the Rotation Switch
SCR Stacking Kit Instructions Short
Rotisserie Stacking Instructions
Troubleshooting a Broken Shaft Adapter Pin
Reference