32X Direct Connect Retrofit
3/8 Wrench
5/8 Wrench
Crosstip screwdriver
Kit number
14367
Estimated Time
60 minutes
NOTE: This system is designed to operate using a 1/2 hp pump motor, if motor plate reads 1/3 change to 1/2 hp pump motor.
-
Disconnect power to fryer and allow it to cool.
-
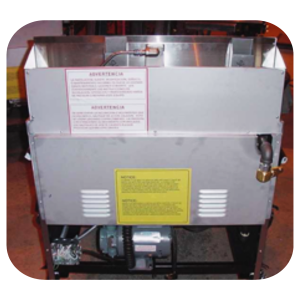
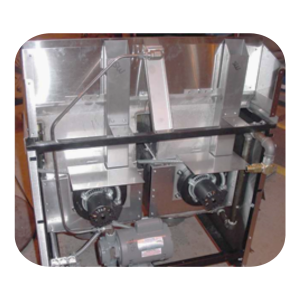
Remove rear cover screws and rear cover from fryer.
-
Loosen the nuts on the 3/8" tubing. Remove and discard tubing.
-
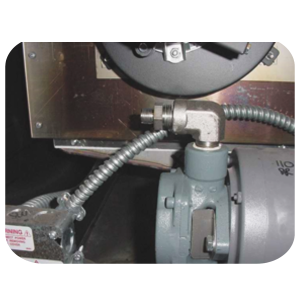
Remove straight fittings and elbows from the top of the pump. Replace with new fittings from the kit.
-
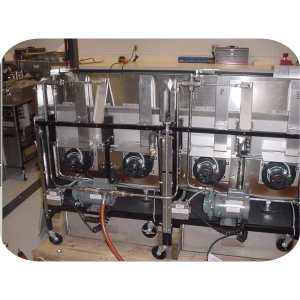
Attatch new tubing and hose assembles to fryer. Place 3/8" tube fittings on the return line block assemblies. Then tighten the 5/8" tube fittings onto the new pump.
-
Install brakets by fastening screws into the black fryer frame.
-
Reinstall rear cover to fryer.
-
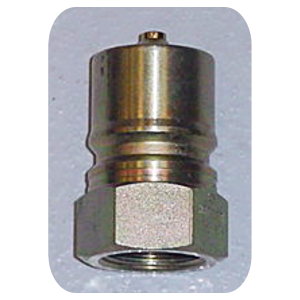
Install the male quick disconnect (21611) to manifold attached to the wall behind fryer.
-
Connect female end to male end of quick disconnect.
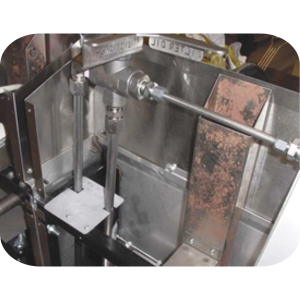
NOTES: OFG unites have two covers, OFE unites have one cover. Figure 1 depicts an OFG unit.
Related Content
Replacing the Drain Microswitch
32X Direct Connect Oil System Operating Instructions
Direct Connect Retrofit Instructions
OFE 32X Open Drain Switch Retrofit Kit
OFG 322/323 Open drain switch retrofit kit instructions
OFE 32X Open Drain Switch Retrofit Kit
OFX 32X Replacing the Motor Shield
OFE 32X Installing the Filter Pump
OFE 32X Conversion from Full Pan to Single Pan
Troubleshooting the OFE and OFG 32X Fryer Oil Not Pumping
Troubleshooting the OFE and OFG 32X Fryer E-15 Drain Open Error Code
OFG 32X Open Drain Switch Retrofit
OGA-OFG 32X Ignition Module Retrofit
OFG/OGA 32X Replacing Gas Valve Kit
OFE 32X C1000 to C8000 Retrofit Kit
OFG 32X C1000 to C8000 Retrofit Kit
OFE 32X Installing the Spreader Bar
OFE 32X Reinforcing the Basket Rest
OFE 32X Chick-Fil-A Element Bracket
OGA-OFG 32X Replacing the Vacuum Switch
Reflashing the CFA ARM-Based Control
Reference